
Bubble Garland Instructions
kit contains:
origami paper
two light strands
bamboo skewer
Get Started
step one:
step two:
step three:
step four:
step five:
choose your papers.
Pick a color scheme or theme for your banner. I went with pinks, oranges, reds, yellows, and browns for a fall vibe but you do you. Soft greens and neon yellows can create a spooky feel. Deep reds and purples capture the coziness of the season. Black and white could be a fun graphic Halloween look. And nobody says you have to do anything seasonal. Pick colors that look good in the room you want to use this. You also don’t have to use only what’s in the pack provided. Any paper that is easily folded (think anywhere from printer paper to newspaper) will work. Just make sure it’s cut to a square.
You can go with different sizes of paper to create dimension or stick with all the same for a more uniform look.
fold your origami bubbles
You can watch my video tutorial on this. Fair warning: I’m not a videographer but it gets the point across. I’m sure someone on the internet has done this better but I’m also not an IP lawyer so I don’t know what I can use and not. Safer to go with my own thing.
For the string lights provided, you’ll want to make anywhere between 15 and 30 bubbles. If you’re using bigger paper or want a sparse look, 15 will probably do it. Smaller bubbles or a fuller look will require more.
The number one tip of origami is to make your folds crisp. You can use your fingernail or an instrument (like the side of a pencil) to accomplish this.
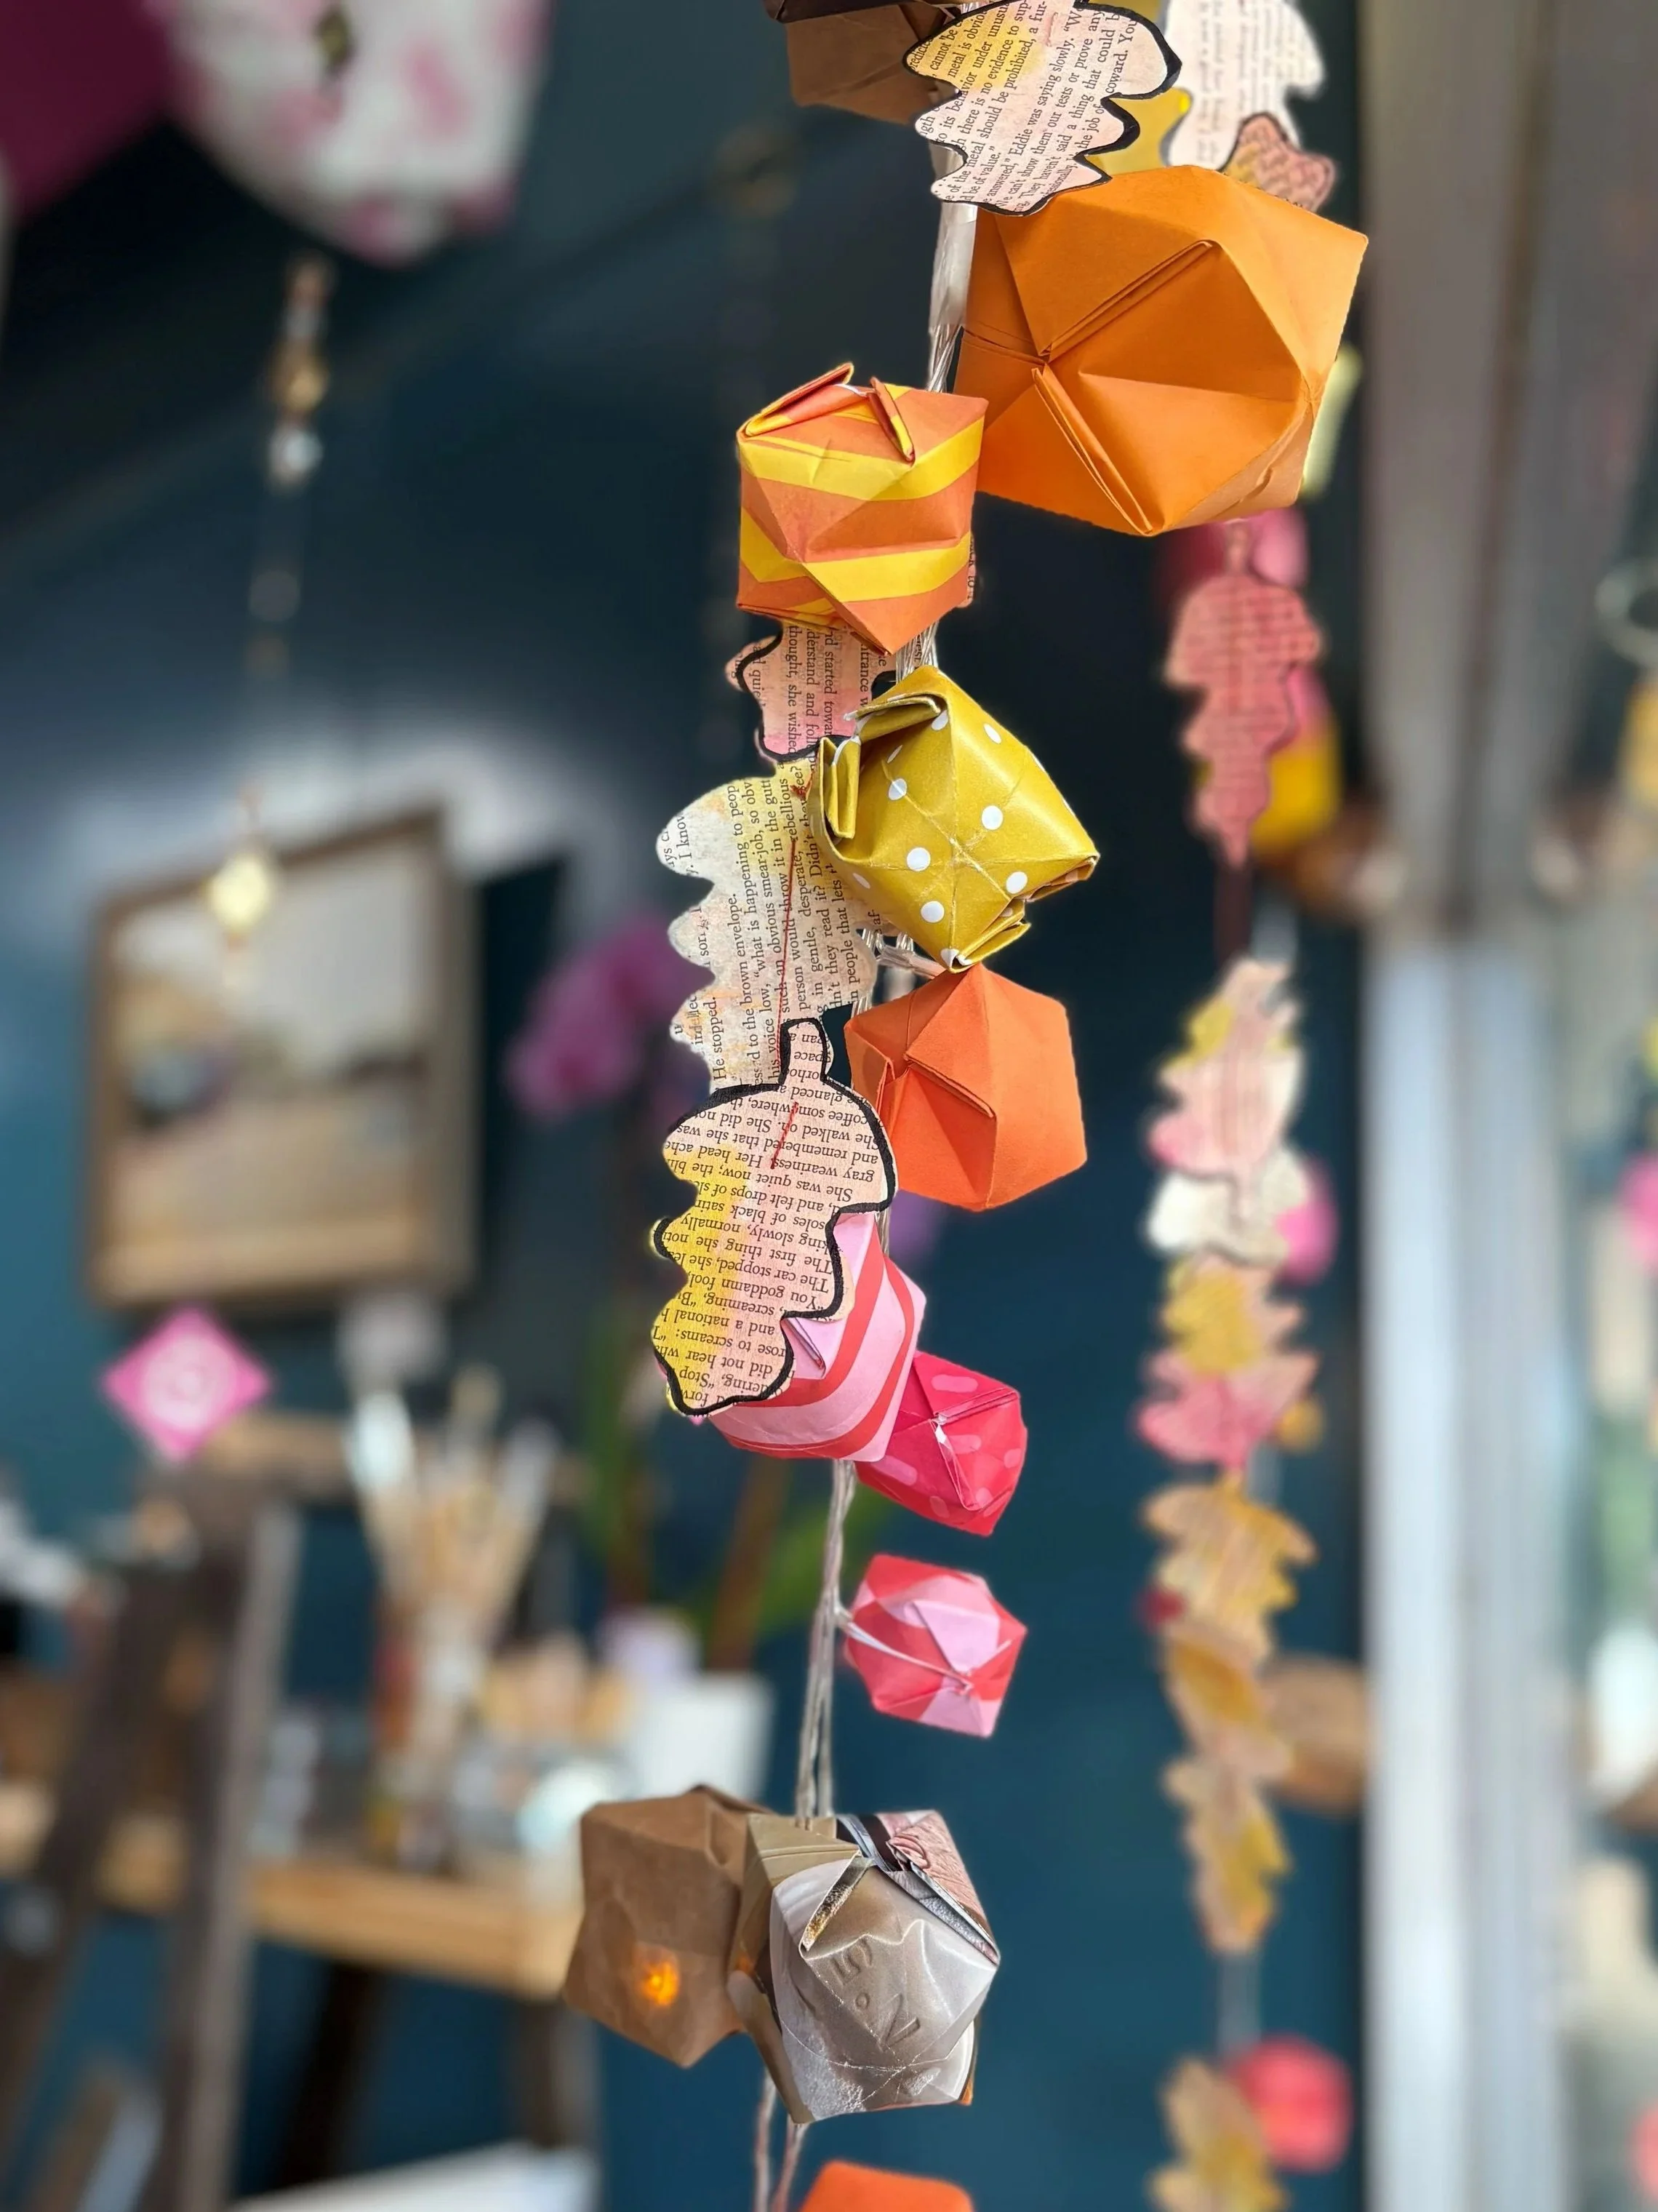
prepare the pieces
Unwind your lights, taking care not to place them on a metal surface as they are uninsulated fairy lights and can short out. Pull the tab from the battery pack and test that the strand works. Trust me, it’s very not fun to complete the project and THEN find out it doesn’t light up. Of course, unlighted garland has its place too.
Use the bamboo skewer to poke a hole in the bubble across from the existing one. This may cause your bubble to deflate a tad or go a bit wonky. You can use the dull side of the skewer to poke it back it out (see the end of the instructional video).
string the bubbles
You may want to arrange your bubbles on the table before running the light through so you can make sure you like your layout.
Stiffen the end of the light strand and guide it through your bubbles one at a time. This can take a little patience as it can sometimes be tough to find the exit but take a deep breath, it’ll happen. It can help to turn on the lights as you assemble so you can see where they are inside the bubble.
Once all bubbles are on, you can bend the wire to hold them in place or dab a small amount of hot glue where the hole of the bubble meets the wire.
decorate and enjoy
Place your garland on the mantle, over the door, or wherever you want a little whimsy. You can layer it with other garlands or let it stand alone. It’s yours and you made it so have fun with it and be proud!